Why Your Position Sizes Are All Wrong
Most retail traders use the same position size on every trade. They buy a hundred shares. They buy five hundred shares. Whatever their “standard size” is, it stays the same whether the setup is a clean multi-confirmation breakout with institutional volume or a half-hearted bounce off a moving average with nothing else confirming.
Think about what that means. A trader is betting the same amount of money on a setup with a 45% hit rate and a setup with a 70% hit rate. Over a year, the expected value from those two trade types is dramatically different, but the exposure to each is identical. The result is predictable. The trader’s wins are too small relative to their losses, because they are sizing their best trades the same as their worst trades. Their account drifts sideways or slowly down, and they cannot figure out why.
I traded this way for almost two years. I had no language for the difference between a “good setup” and a “great setup.” Every trade felt like the same trade at click time because I had no system for distinguishing them. I eventually built one, and the framework did not come from a trading book. It came from figuring out how to price appliance repair jobs.
This is Part 3 of a three-part series on what appliance refurbishing taught me about trading. Read Part 1 and Part 2 first if you have not.
Why I Started Naming My Jobs
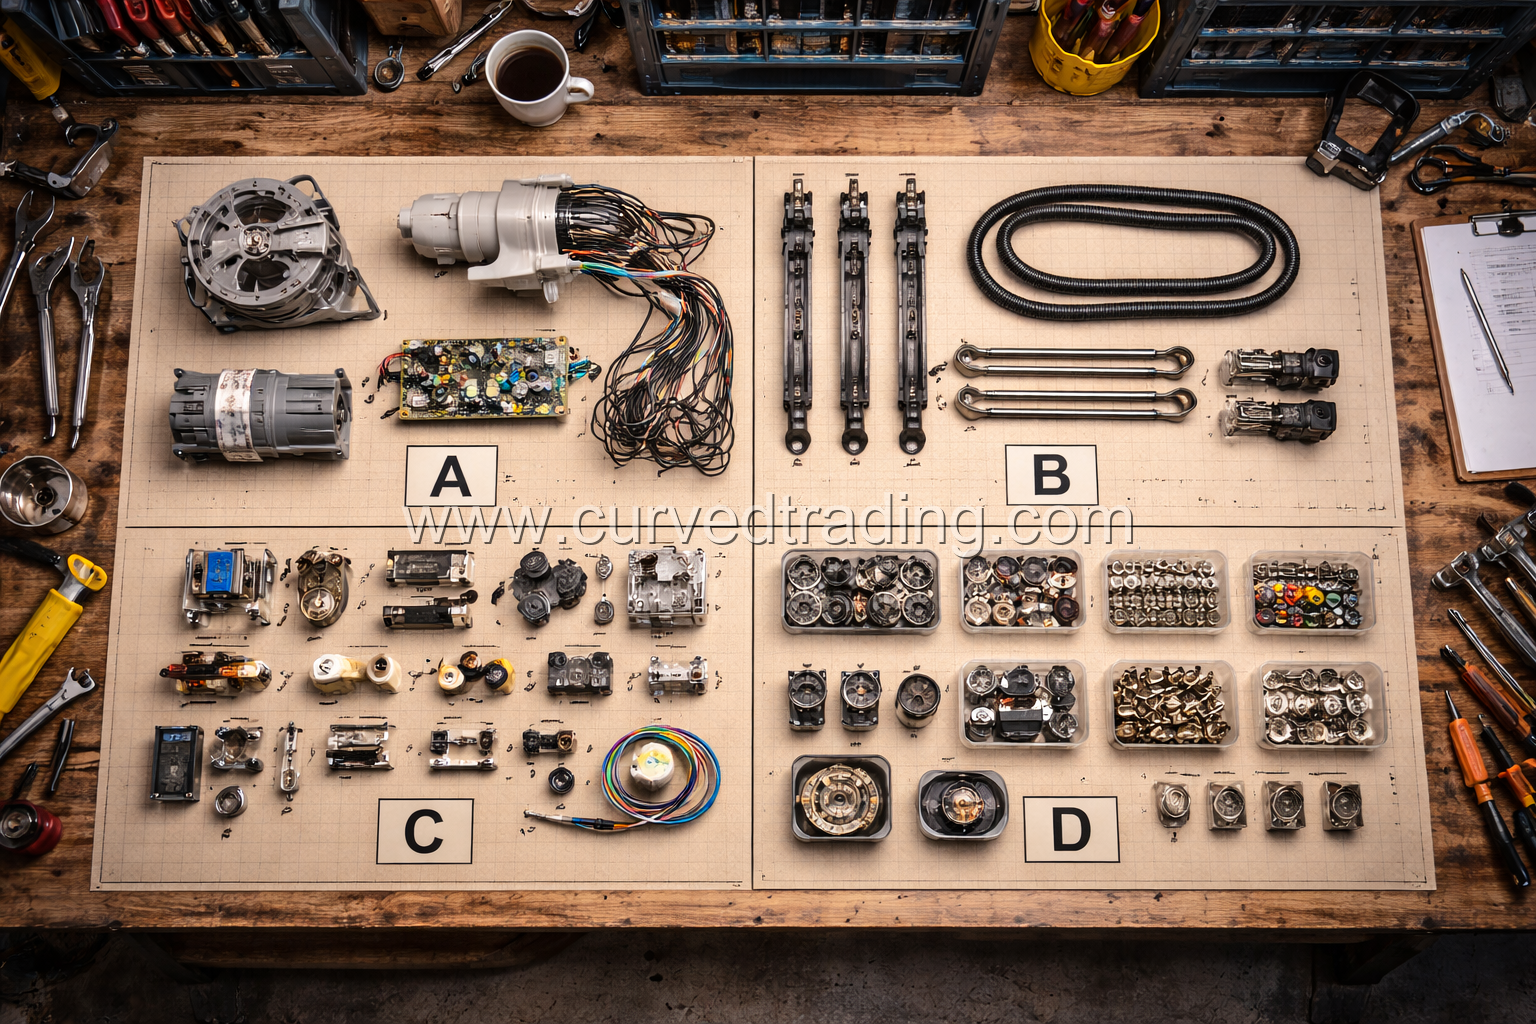
About a year into the appliance business, I started naming my repair jobs.
I know that sounds strange. A job is a job. But I had noticed that I was pricing work inconsistently. Some weeks I made good money. Some weeks I worked just as hard and barely broke even. I could not figure out why. So I started writing a little code on the top of every invoice.
A C job was a single-issue repair on an otherwise healthy machine. A washer that needed new suspension rods, and only suspension rods. Maybe an hour of labor, cheap parts, customer pays fairly, I walk away with solid margin per hour.
A B job was a machine with two issues that were both within the normal expected failure profile. Washer with bad suspensions AND bad bearings. A few hours of labor, both parts, customer gets a discount for bundling, I still make decent profit.
A B+ job added a third issue that was caused by the first two. Suspensions plus bearings plus a damaged motor mount, because the tub had been swinging so violently for so long that it had started damaging adjacent parts. More labor, more parts, but still a straightforward repair sequence.
An A job was a machine with multiple compounding failures. Washer with suspensions, bearings, motor, harness, and a worn drive belt, because everything had been slowly failing together for years. Long repair, expensive parts, requires methodical work. These jobs paid well per hour if priced correctly.
An A++ job was a full teardown and rebuild. Machine where almost everything needed to be replaced except the cabinet. Rare. High risk. Either you nail the pricing and make great money, or you underbid it and lose.
Once I started naming the jobs, I started pricing them correctly. I stopped taking C jobs at B prices (losing money on labor) and stopped taking A jobs at B prices (bleeding out). My business margins stabilized. My stress went down. I stopped dreading the harder repairs because I was being paid for them.
About two years later, when I was trying to figure out why my trading was still inconsistent after I had learned to diagnose root causes and rule out competing diagnoses, I realized I had never applied my naming system to trades. I was taking C setups at A sizing. I was taking A setups at C sizing. I was not pricing my work correctly in the market.
Why Naming Your Setups Matters
Here is the core insight that took me years to learn: every trade is not a trade. Some trades are C setups. Some are A setups. They require different levels of conviction, different position sizes, different risk management, and different exit plans.
If you treat every trade the same way, you will either be risking too much on weak setups or too little on strong ones. Both mistakes cost you money over time.
The benefit of naming is that it forces you to actually evaluate each setup before you take it. If you cannot write down “this is a B+ setup” or “this is a C setup” before you click buy, you have not done the diagnostic work. Naming is a gatekeeper. It stops reflexive trading.
The other benefit is that over time, your journal starts to show you which setup grades you actually trade profitably. Some traders discover their B+ setups are their best performers and their A setups underperform (usually because they size up emotionally on A setups and the increased size magnifies mistakes). Some discover the opposite. You cannot see this pattern in your data if you do not label the setups in the first place.
The Grading Framework I Use
Here is the specific framework I developed. Your grades can be different. The point is to have them.
C Setup (Single Confirmation)
Definition: One independent confirming signal is present. You have identified a cause and have one piece of evidence supporting it.
Example: A stock breaks out of a multi-week base on a normal-volume day, with no news catalyst and no sector confirmation. The price action alone is your signal.
Appliance analogy: A washer with banging noise during spin. You think it is the suspension. You have not yet opened the machine up to confirm.
Position size: One quarter of your normal size, or less. This is a “testing” trade. You are taking it to see if your diagnosis is right, not because you are confident.
Management: Tight stop, quick exit if not working within the expected timeframe. Treat it like an exploratory trade.
Expected hit rate: Roughly fifty percent. These are coin flips. Do not pretend otherwise.
B Setup (Two Confirmations)
Definition: Two independent signals confirm the same diagnosis. Each signal is from a different dimension (price, volume, news, sector, technical level).
Example: A stock breaks out of a base with volume confirmation. Price says breakout. Volume says real participation. Two signals agree.
Appliance analogy: A washer with banging noise AND metallic squealing AND you visually confirm worn bearing seal when you open it up. Multiple symptoms pointing to the same diagnosis.
Position size: Half of your normal size. You have a genuine edge but you are not fully confirmed.
Management: Normal stop. Plan to hold through normal fluctuations as long as the thesis remains intact.
Expected hit rate: Roughly fifty-five to sixty percent. Still not a guarantee, but meaningfully better than a coin flip.
B+ Setup (Two Confirmations Plus Context)
Definition: Two confirmations plus a strong environmental context that supports the trade. The trade is happening in a market environment where similar setups are working.
Example: The same breakout with volume, but the sector is leading the market, the broader index is in an uptrend, and recent similar breakouts have been working. Context is tailwind.
Appliance analogy: Bearings plus suspension failure in a machine that is only three years old (meaning the rest of the machine is probably healthy) owned by a customer who maintains her appliances well. Context tells you this is a clean two-part repair, not the beginning of a cascade.
Position size: Between half size and full size. You have two confirmations and context.
Management: Normal stops, willing to add if the trade shows follow-through early.
Expected hit rate: Roughly sixty to sixty-five percent. Meaningful edge.
A Setup (Three or More Confirmations)
Definition: Three or more independent signals all confirm the same diagnosis. You have price, volume, catalyst, and/or sector confirmation all pointing the same direction.
Example: A stock gaps up on blowout earnings, with volume five times its normal average, sector leading, index in an uptrend, and a clean technical breakout through multi-month resistance. Every confirming signal you could ask for is present.
Appliance analogy: Compressor failure in a refrigerator, confirmed by: no cold air in either compartment, no clicking when you test the start relay, burned connectors at the compressor terminal, and a ten-year-old unit that is at the end of its normal service life. Multiple independent confirmations.
Position size: Full size. This is what you have been waiting for.
Management: Normal stop, potentially scaling out into strength rather than all-or-nothing exits, willing to hold through normal volatility because the thesis is strongly supported.
Expected hit rate: Roughly sixty-five to seventy-five percent depending on your system. Not every A setup works, but most do.
A++ Setup (Rare, Nearly Perfect Alignment)
Definition: Every confirming signal you look for is present AND you have conviction that the cause will sustain over multiple time horizons. These are extraordinary setups that might appear a few times per year, not every week.
Example: A company reports earnings that materially reset the market’s expectations for the entire sector, the stock gaps up on ten times normal volume, institutional buyers are confirmed on Level 2, the sector is already in a clear uptrend, and the broader market environment is bullish. Everything is aligned. This is the kind of setup that Warren Buffett or Paul Tudor Jones would actually commit size to.
Appliance analogy: A customer brings in a ten-year-old washer for a simple repair quote. When you inspect, you find the thing is essentially rebuilt already (she replaced the motor last year, the bearings two years ago, all belts and hoses are new), and the only remaining issue is a simple electronic board. This is a rare, clean, high-confidence repair that a good mechanic would price aggressively because they know the work is straightforward and the outcome is certain.
Position size: Full size, sometimes with added conviction size (one-and-a-quarter or one-and-a-half of your normal full size, never more than double).
Management: Give the trade room. Hold through normal and even slightly-above-normal volatility. Exit only if the thesis is proven wrong, not because price action scared you.
Expected hit rate: Seventy-five percent or higher if you are truly selective about what gets this label. The trap is grading ordinary setups as A++ out of excitement. Be ruthless about the criteria.
The Risk Management Principle: Grade Determines Size, Not the Other Way Around
This is the rule that broke me out of bad habits:
Size follows grade. Grade does not follow desire to size up.
If you find yourself wanting to trade larger than your C-setup size on a C setup, that is your emotion speaking, not your diagnosis. The grade you identify at analysis time should lock in the size. Changing size based on how you feel about the trade once it is live is how you blow up accounts.
I have this rule written on a sticky note at my desk: “I size the grade, not the feeling.”
When I break this rule, I lose. When I follow it, I do not always win, but my losses are in proportion to my edge.
The 1099 business article covered why most retail traders treat trading like a job rather than a business. This is the business version of pricing: your position size is the price you are quoting for the trade. Quote it based on the job grade. Do not quote a C job at A prices and then wonder why you ran out of working capital.
How Compounding Failures Change the Risk Profile
Back to appliances for a moment, because this part is critical.
When I got a machine with bad bearings and bad suspensions together (a B job), I charged more than for either problem alone, but I also knew the probability of finding a third problem during the repair was elevated. A washer that has been allowed to run with bad bearings and bad suspensions for months has been vibrating and grinding for months. That vibration damages other parts. The motor mount cracks. The drive belt wears unevenly. The control board can develop connection issues from constant vibration.
The B+ job was where I would open up a machine and find that third compounding failure. I could not know for sure before opening it up. But I had learned to expect it sometimes, and to price the job to allow for the possibility.
Trading has exactly the same structure. A C setup going wrong is usually one thing going wrong (the breakout failed, the gap faded). A B+ setup going wrong often has multiple failures happening together (the breakout failed AND the sector weakened AND the volume evaporated). When high-grade setups fail, they can fail harder than low-grade setups, because the conditions that aligned to support the trade have now aligned to go against it.
This means your stop loss on an A or A++ setup should not be wider just because the setup is higher grade. If anything, your stop needs to be more mechanical because when an A setup fails, the implications are bigger. You are likely wrong about something at a deeper level than just the trade.
Stop losses and trailing stops are not optional on any grade. They are especially not optional on the high-conviction setups where you have sized up. If you are going to size to full on an A setup, you need to be ready to cut that full-size position when it does not work. A full-size loss on a thesis you were confident in is painful enough. A full-size loss on a position you refused to cut is account-ending.
Building Your Own Setup Names
Your grading system does not have to match mine. In fact, it is better if it does not, because your system needs to match the setups you actually trade.
Here is how to build one:
Step 1: Identify the three or four setups you actually take. Not theoretical setups. Not setups you have read about. The ones you have actually put money on over the last few months. If you have been journaling, look at your journal. Name them. “Breakout pullback,” “gap and go,” “VWAP reclaim,” whatever fits.
Step 2: For each setup, list the confirmations that you look for. For a breakout pullback, maybe: price pulling back to the breakout level, volume drying up on the pullback, a reversal candle forming, sector alignment, broader market tailwind. That might be five possible confirmations.
Step 3: Define your grade tiers based on confirmation count. In my system, C is one confirmation, B is two, B+ is two plus context, A is three or more, A++ is every confirmation plus sustained-cause conviction. Yours can be different. The key is that the tiers are specific and testable.
Step 4: Assign position sizes to each tier. C size, B size, B+ size, A size, A++ size. These should be strict. No exceptions based on feeling.
Step 5: Track every trade by grade. In your journal, every trade gets a grade at the time of entry. Never after the fact. At the time of entry, when you have not yet seen the outcome.
After a hundred trades, your journal will tell you things like: “My C setups have a forty-seven percent hit rate. My B setups have a fifty-six percent hit rate. My A setups have a seventy-one percent hit rate. My average winner on a B+ is 1.8R. My average loser on an A is 0.7R.”
These numbers are gold. They tell you which setups you should be trading more of and which you should cut entirely. They tell you where your real edge is.
Why Most Traders Never Do This
Let me be honest. Very few traders actually build out a grading system this way. It is tedious. It requires discipline you do not need when you are firing trades based on gut feeling. It slows down the process of trading, which is emotionally unsatisfying because trading’s appeal is partly the rush of the click.
But here is the thing. Most traders never do this and most traders lose money. The statistics on retail trading are clear that most people who try to day trade lose money over multiple years. The small percentage who do make it are almost universally the ones who built systematic processes like this.
The appliance business taught me this because the math was transparent. A mechanic who did not name his jobs and price them consistently went out of business in six months. A mechanic who named them and priced them correctly could do this for decades. Trading is the same business. It just hides the math better because you can blow up your account quietly at home instead of getting foreclosed on by a creditor.
If you are serious about trading, the grading work is not optional. It is the difference between running a business and playing a very expensive video game.
The Interlocking Series
These three articles together form the framework I built over about three years of trial, error, and appliances. Here is the summary of what to do:
From Part 1: Understand that symptoms are not causes. Trade the cause, not the surface signal. Demand multiple confirmations before committing size.
From Part 2: Different causes can produce the same symptom. Rule out alternatives systematically before committing to your diagnosis. Use second dimensions (volume, sector, catalyst) to disambiguate lookalike setups.
From this article: Grade every setup before you enter. Assign size based on grade. Build a data sheet that tracks grade versus outcome so you can discover which setups actually work for you.
If you take all three together, you have the mental model that turned my trading from random to systematic. I do not win every trade. I still lose plenty. But I lose smaller, I win bigger, and my account compounds slowly instead of oscillating around breakeven.
That is the real goal. Not to win every trade. To structure your trading so that the wins are large enough and the losses are small enough to compound over time. The grading system is what makes that math actually work.
Key Takeaways
- Not every trade is equal. Some are C setups, some are A++ setups. They require different sizes, different management, and different expected outcomes.
- Size follows grade. Never trade a C setup at A size because you feel good about it. The grade is set at analysis time. The emotion comes later.
- High-grade setups can fail harder than low-grade setups because the conditions that supported the trade are now aligned against it. Your stop loss discipline must be tighter on your biggest positions, not looser.
- Name your setups. List the confirmations each requires. Track the grade of every trade in your journal. After a hundred trades, the data will tell you where your real edge is.
- Most traders never build a system like this. Most traders lose money. These facts are connected.
This completes the three-part appliance series. If you want more of the lens-on-trading style, the Efren Reyes masterpiece is where I went deep on situational awareness and institutional flow, and the trucker to trader series is where I tied trading back to business ownership fundamentals.
Three years of fixing appliances and two years of studying other masters of adjacent games. Both gave me more usable trading wisdom than any course I ever paid for. The underlying skills transfer further than most people realize, and the best way to become a better trader is often to spend time getting extremely good at something that is not trading, and then bring that discipline back to the market.
Disclaimer: This article is for educational purposes only and does not constitute financial advice. Trading involves substantial risk of loss, including the potential for losses greater than your initial investment. Always consult a qualified financial advisor before making trading decisions.